Kite
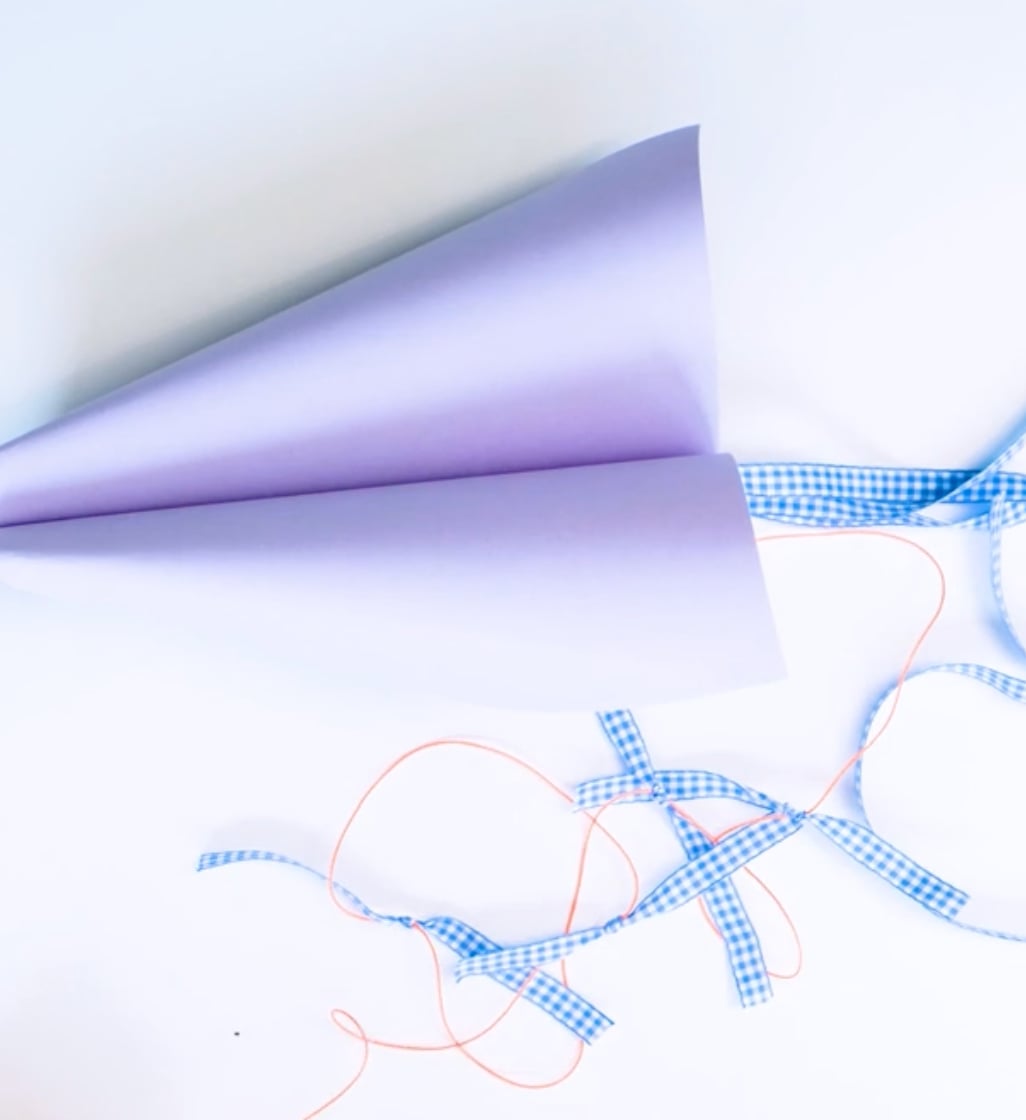
8-12 y.o.
Average
20-30 min
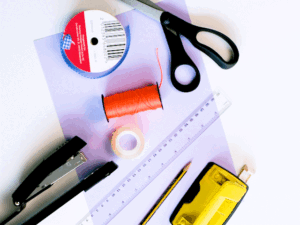
For the experiment, you will need:
- Color paper
- Adhesive tape
- Scissors
- Thin rope
- Decorating bar
- Punch
- Stapler
- Pencil
1. Materials for the experiment
Prepare all the tools necessary for the experiment.
2. Folding
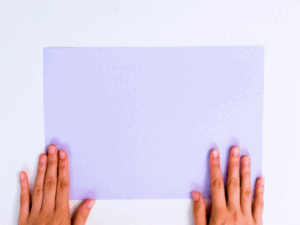
Fold a sheet of paper in half.

3. Folding again
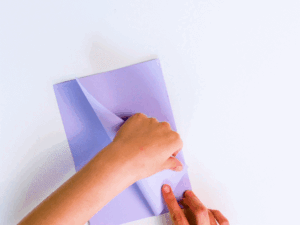
Add one edge of the sheet to the first tag. Do the same with the other edge of the sheet.
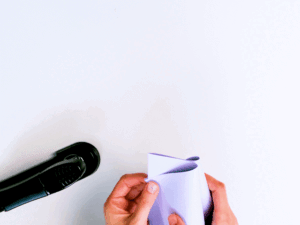
4. Stapling
At the first tag with a stapler staple the kite.

5. Sticking
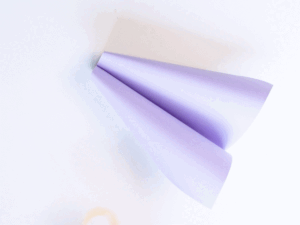
At the second mark (through the center of the kite) stick a piece of adhesive tape. Stick another slice on the other side.
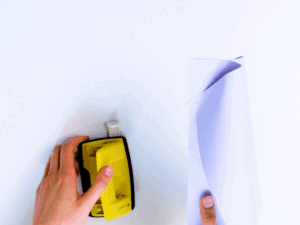
6. Knocking out the hole
Using a punch, knock out the hole at the kite center mark through pieces of adhesive tape.

7. Binding
Pass a thread or a thin rope through the hole, and fix it by tying a knot.
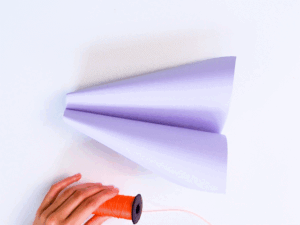
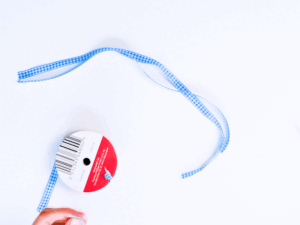
8. Cutting
Cut off 3 longer strips and 5 shorter ones from the decoration ribbon.

9. Decorating
Attach 3 longer strips with the help of a stapler to the back of the kite.
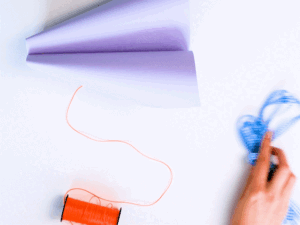
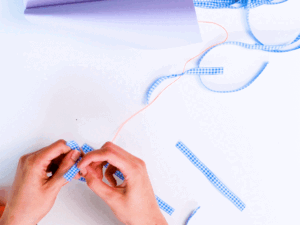
10. Decorating
Tie shorter 5 strips on a thin rope tied in the center of the kite.

11. Flying the kite
A windy day is perfect for trying a kite. Take it outside and hold it by the end of the rope to catch the wind. If the wind is not enough, try to fly the kite while running.
